Know what every planting costs, from day one
Set up a new planting as a crop cycle before the first plants go in, so labor and yield are booked to the right crop from the very first day.
A month tells you what the greenhouse cost. It does not tell you what one planting cost, because a month holds the end of one crop and the start of the next. So the question every grower wants answered, "was this crop worth it?", stays a guess.
A crop cycle fixes that. It ties the work to one crop, in one place, over one season. Set it up before the plants go in, and every hour and every kilo lands on the right planting from the first day.
In this video
Migo shows you how to find a crop cycle, read what it records, and set up a new one before the first plants go in.
The list. Crop Cycles lists every planting in your operation, with its start date and site. Search and the filter chips sit just above the list. Select a row, and that cycle opens beside the list. Hours, inventory counts and labor plans all book on a crop cycle, so cost and yield per crop start here.
- The record. Tomato opens beside the list (from the bottom on a phone), with its key facts across the top: the site, the start date and how many work areas it covers.
- Where is this growing? Just below the key facts, this card says the cycle grows in every work area of its site, so there is no list to keep up.
- Choose locations. The pencil at the right of that card opens a picker: a search box at the top, every work area below it.
- Every work area on this site. Ticked at the top of the picker, so nobody ticks areas one by one, and areas added later are included too.
- Nothing changed. Cancel, at the bottom right, closes the picker unchanged.
- A new planting. A new cucumber planting goes in this autumn, so you set it up as a crop cycle before the first work is booked on it. New, the green button in the top right corner (below the page title on a phone), opens the crop cycle sheet. At the top, you name the cycle after crop and season.
- Site and area. Pick the site it grows on and enter the growing area in square meters, so costs and yield compare per area.
- Dates. Further down: the day the young plants go in and the day you expect to clear the crop.
- Description. The last card, at the bottom of the sheet, holds notes your team should know, such as the plant material and the growing system.
- Nothing saved. Cancel, in the footer at the bottom right, asks first, and you discard the draft. Once you save it, the cycle is ready before the first plants go in.
With its locations set, hours, inventory and labor plans can book on the cycle from the first day of planting.
Tips
- Narrow it when crops share a site. A new cycle covers every work area of its site until you choose otherwise. Great with one crop, wrong with several. Open Where is this growing? and pick the right blocks.
- Total Area is a number you type. It is not added up from the work areas. The record shows a separate total from the assigned areas, and the two can differ, so check them when the footprint changes.
- Close the cycle after the cleanup. Clearing and cleaning belong to the crop that was there, not the one going in next. Set the end date once that work is done.
Read more
The user guide explains crop cycles and how work reaches them, and the crop cycle form covers dates, area and locations in detail.
Try it free for 1 month, no credit card needed.
More stories
-
 2 min
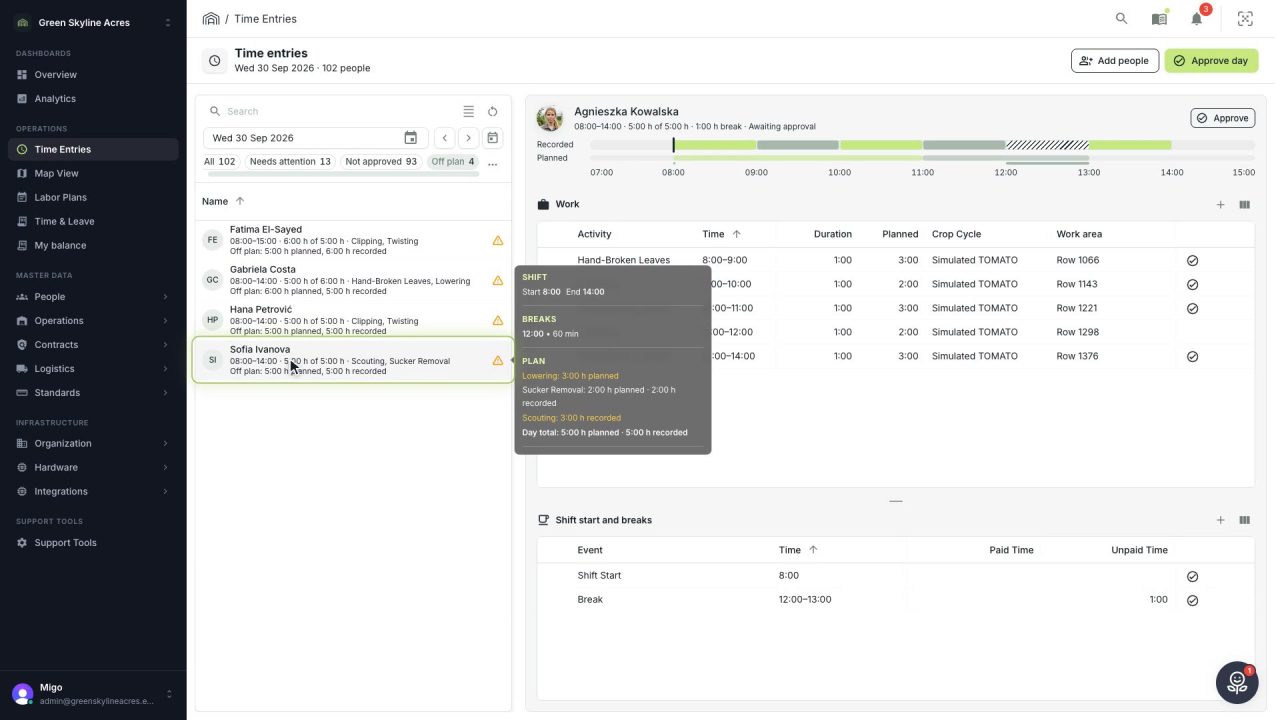
2 min See whose day went differently from the plan
Check a work day against the labor plan, see who worked something else or did not show up, and accept a change of plan that had a good reason.
Read the story -
 1 min
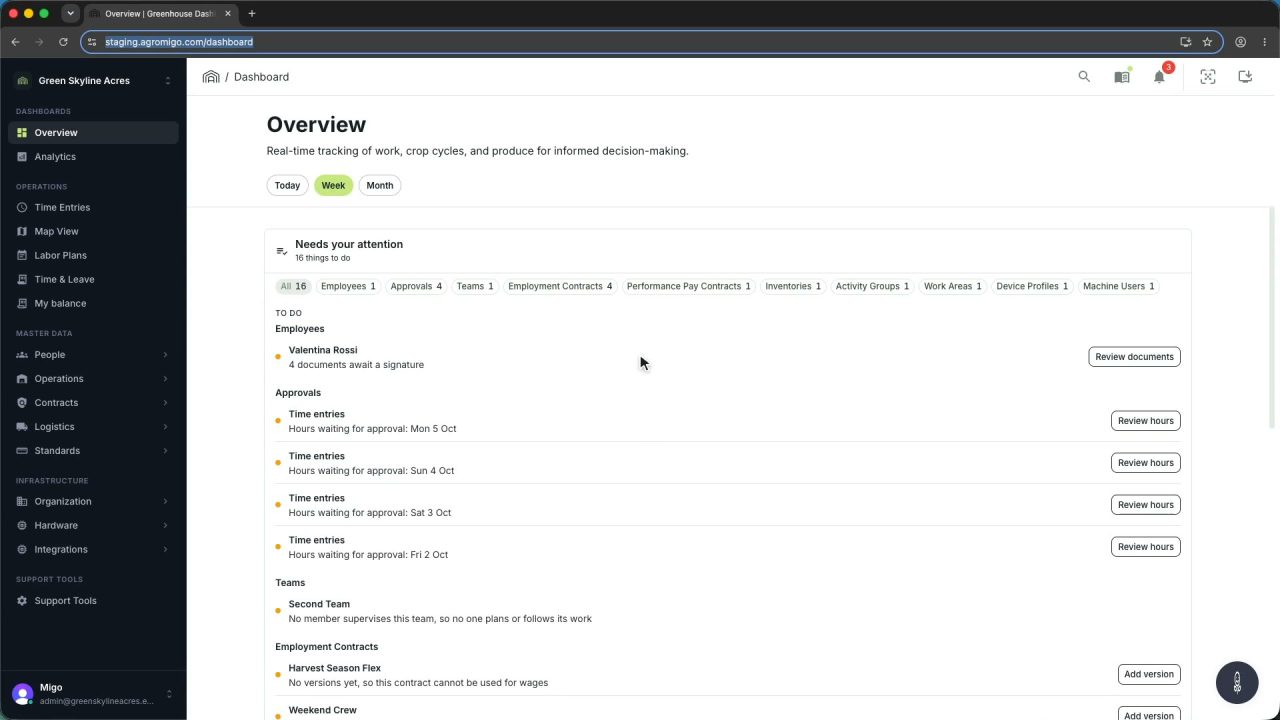
1 min Agromigo on your computer, in a window of its own
One click on the install icon and Chrome's Install button put the dashboard among your programs, opening in its own window, straight to your dashboard, always the latest version.
Read the story -
 2 min
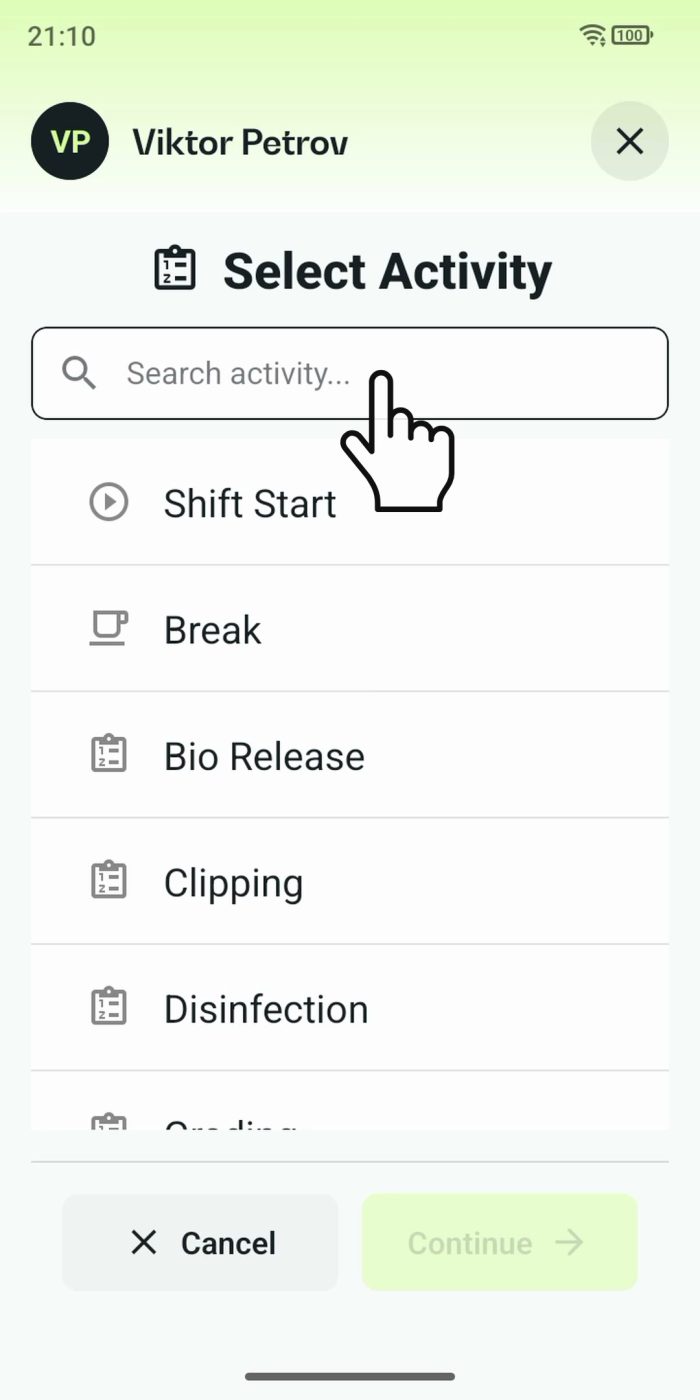
2 min One shared phone where the crew taps in with a tag
Terminal mode turns one phone into a terminal for a whole crew, at a fixed spot or moving with the team. Workers tap their personal tag, choose the task they finished, answer a few questions, and the screen resets for the next person.
Read the story